How To View Memory Diagnostic Results Windows 11 __full__ Jun 2026
Type the following command and press Enter:
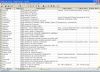
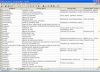
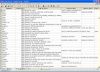
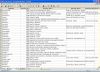
The most reliable method is checking the System log in Event Viewer.
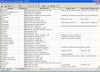
You sit back in your chair. You are no longer confused by the silent reboot. You have navigated the Event Viewer, filtered the noise, and found the specific log entry that tells the true story of your hardware.
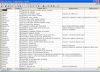
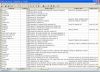
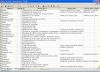
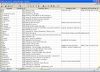
Type MemoryDiagnostics-Results into the search box and click . how to view memory diagnostic results windows 11
If your detective work uncovered errors, your job isn't finished. You have identified the criminal, but you still need to lock them away.
Take a deep breath. Your RAM is physically healthy. The BSOD you experienced earlier was likely caused by a software conflict, a bad driver, or a random cosmic ray. Your hardware is innocent.
Here is exactly how to view your memory diagnostic results and understand what they mean. Step 1: Open the Event Viewer Type the following command and press Enter: The
: Right-click the Start button and select Event Viewer .
This is the story of how to find the answer. The Windows Memory Diagnostic tool doesn’t shout its results; it whispers them in the quiet corners of your operating system. To view them, we have to play detective.
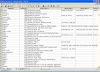
Since Windows saves the diagnostic results as a system log, you need to use the Event Viewer utility to access them. Click the button or press the Windows Key . Type Event Viewer into the search bar. Select the app from the results and press Enter . Step 2: Locate the Windows Logs You have navigated the Event Viewer, filtered the
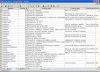
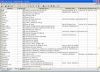
Once you click System , the center pane will fill with thousands of lines of information. This is a diary of everything your computer has done recently. Scrolling through this blindly would take hours. We need a filter.
However, for specific diagnostic results , the method described above remains the gold standard for Windows 11.